How To Create Straight Fine Lines (BONUS: Free Video Lesson)
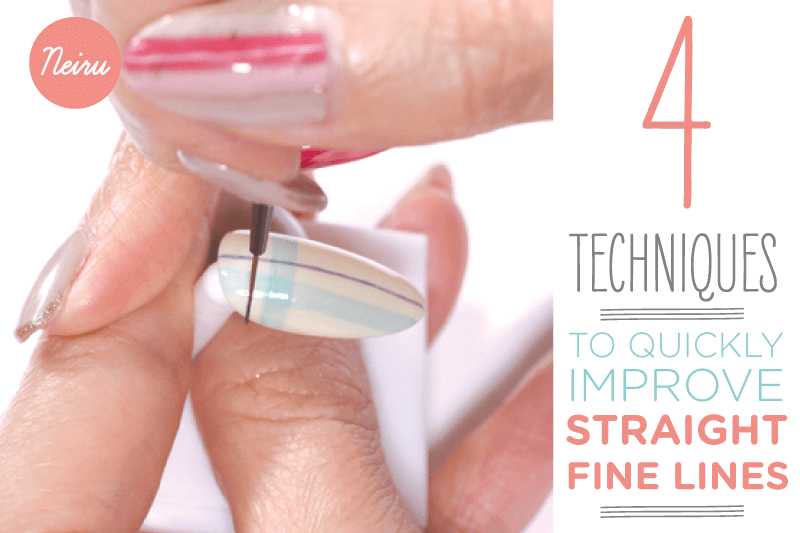
I’m going to share with you 4 techniques you have to apply to create straight fine lines so you can apply these techniques right away!
No rulers. No guides.
We’re left with only our very own hands which seem to have their own minds, and depend on them to control and “freehandedly” create straight lines.
It’s no wonder why so many of us just avoid fine lines and straight fine lines…
Though it may sound impossibly difficult I’m going to give you 4 key techniques that have served me well in creating nail art with straight fine lines. Taken straight out of my newest book all on brushes that is coming out very soon (called “Brushes That Matter”), I’m going to get straight to these techniques!
1 – Anchoring

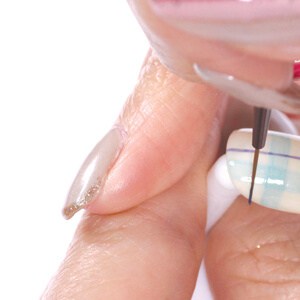
Like handling and shooting with a camera or a gun, creating an anchor can minimize your involuntary bodily jitters and wiggles.
From your brush hand, your pinky is the perfect candidate.
It’s the furthest finger from the brush grip, and really hangs out to do nothing while gripping a brush anyways.
Use this pinky and rest it against your other hand that is gripping the finger of your client or nail practice stand. In fact, apply some good weight without straining the pinky too much, just enough to steady your hand.
2 – Overlapping
TECHNIQUE #2 – OVERLAPPING
Thinking of brushing one long line with one stroke?
Forget it because it’s not happening. Your gel color will have run out before you make your next eye blink!
Rather, start small.
Create long lines by creating shorter lines.
The key to keeping a nice long even line is keeping consistent color tone and strength throughout the line.
After familiarizing yourself with your brush and your gel, start the line off and the moment you feel the color will slightly begin to exhaust, lift the brush and go back for more color then return to the nail to continue the line.
But the secret is not to start where you last left off, rather go back slightly and ease into the next portion of the line overlapping the previous line – gradually. This part is critical, easing into the line.
Start soft and controlled overlapping and ease into the same pressure as the previous line as soon as your brush leaves the previous portion.
Easing into your overlap allows you to get into the motion of a straight line.
3 – The “Pulley”
This technique allows you to split the movement duty.
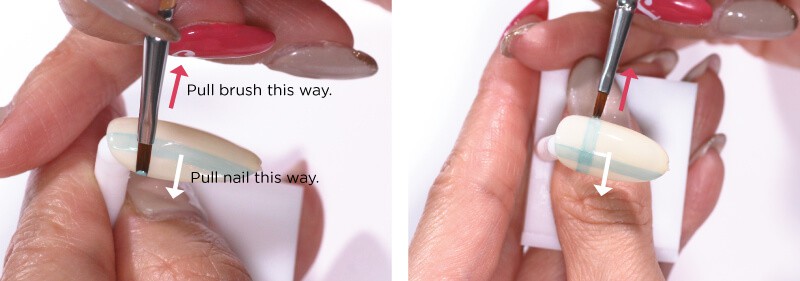
Instead of only your brush hand bearing all the pressures of creating a straight hand, let your other hand do some of the work. This means that you can cut down the movement that one hand may endure on it’s own now that 2 hands are moving.
Less movement, the better.
Simply put, this means that not only should your brush hand be pulling away from the nail, but make sure to also move the hand gripping the nail nail in the opposite direction pulling away from the brush steadily.
This pulley technique helps you conserve energy from your brush hand helps to create what I call a more efficient straight line.
4 – Equal Pressure
I’m not sure if I can qualify this as a “technique”, but it’s definitely one thing you need to be always aware of – consistent pressure.
This takes a bit of time to master.
Get to know your brush, the weight of it, and how much color you carry usually on the bristles.
If you can get those to be consistent, the only thing you need to control is the amount of pressure you apply.
Having a pressure that fluctuates will leave you with an extremely non-uniform line. And the finer your lines the more it can expose of your skill level.
Be extremely mindful of the amount pressure you use while creating each line.
There are no shortcuts.
Practice perfection. Creating lines have always been a challenge and I hope these 4 tips will help you tremendously!


